JavaScript seems to be disabled in your browser. For the best experience on our site, be sure to turn on Javascript in your browser.
Mother's Day Collection
Calendars & Planners Sale!
Featured Collections
Our Favorite Brands
Wedding Suites
Designer Wedding Invitations
Day of Essentials
Wedding Events
For The Couple
Wedding Resources
Wedding Do It Yourself
Paper Bar
Specialty Paper
DIY Kits
Embellishments
Stamps
Tools
Memories
Print At Home
Individual Seasonal Cards Sale!
Occasions Sale!
Custom Cards
Designer Custom Cards
Thank You Notes
Correspondence
Addressing
Announcements
Designer Stationery
Print at Home
Seasonal Gifts
Gifts By Occasion
Collections
Gifts By Category
Gifts By Recipient
Gifts By Price
Seasonal
Wrapping Paper
Bags & Boxes
Finishing Touches
Themed Party Supplies
Supplies by Category
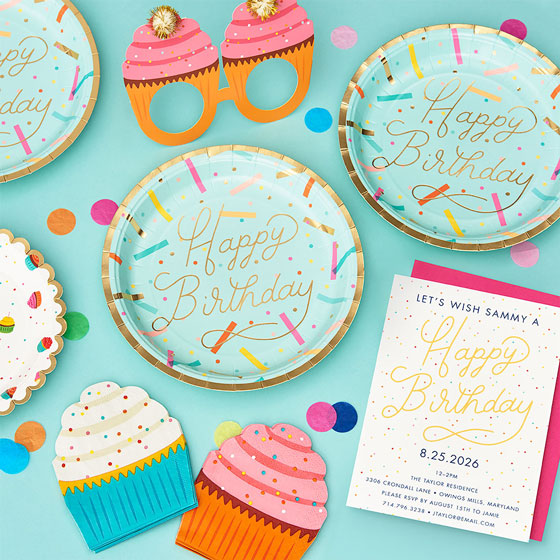
Party Invitations
Desk
Stationery
Gifts
Occasions
Planners Sale!
Supplies
Writing Instruments
Office Stationery
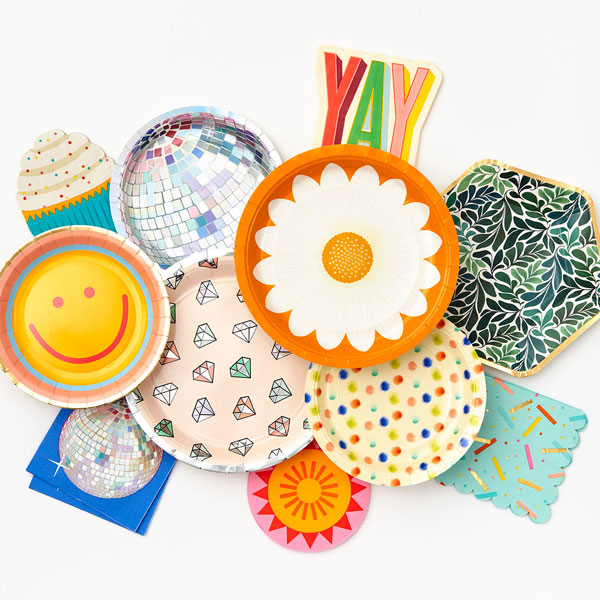
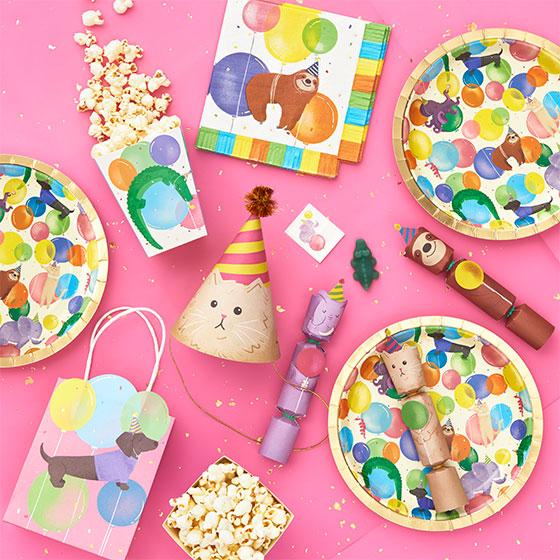
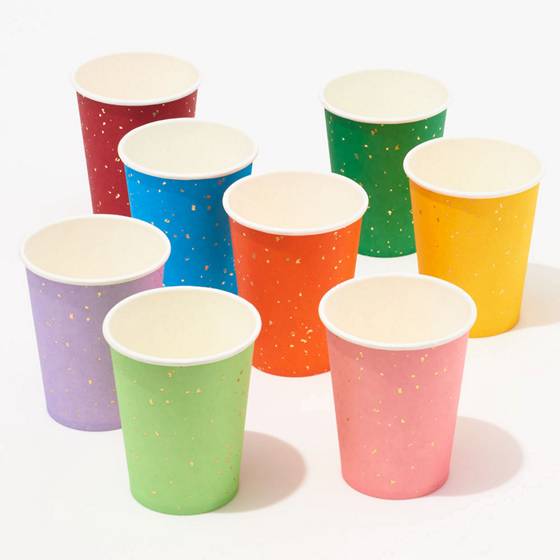
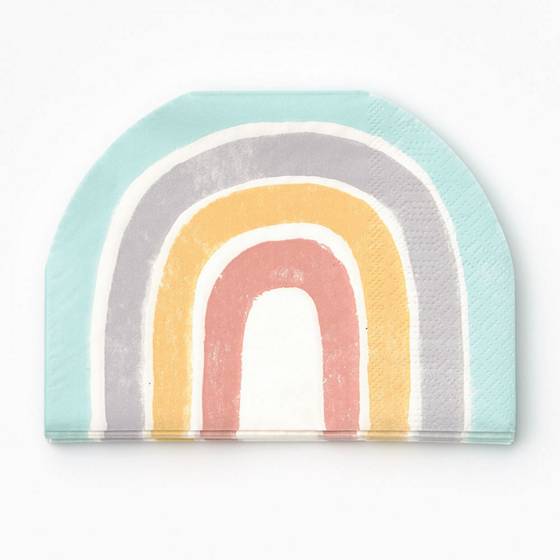
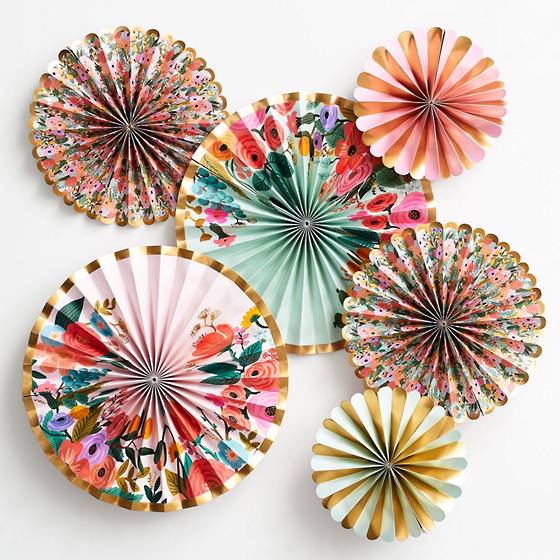
Add fun and colorful plates, napkins and more to your celebration.
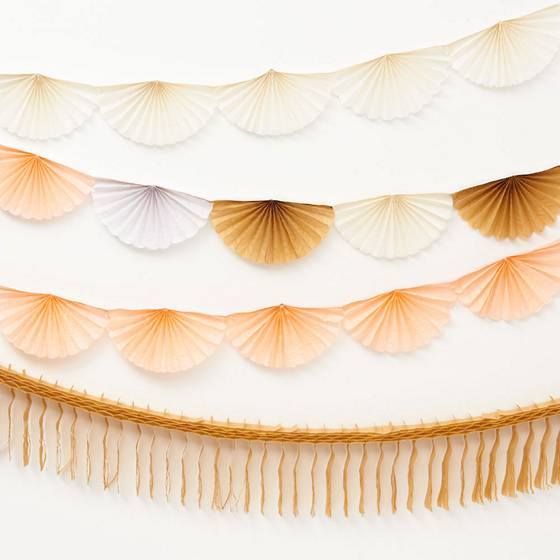
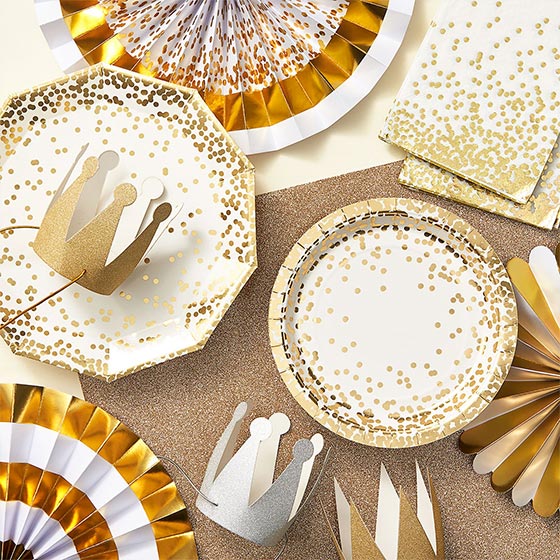
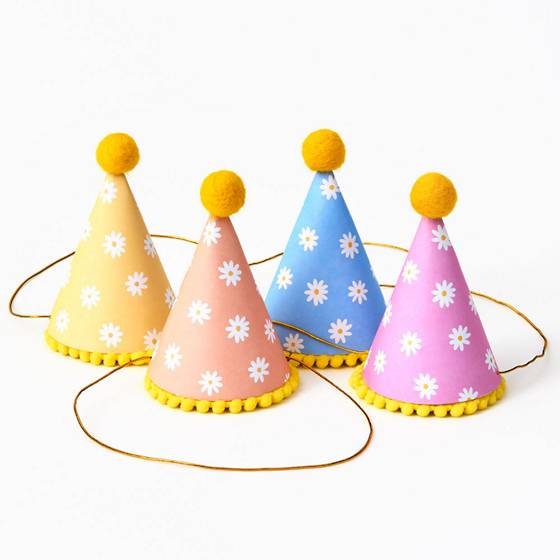
Find garlands and banners to celebrate any occasion in style.
Shop Now
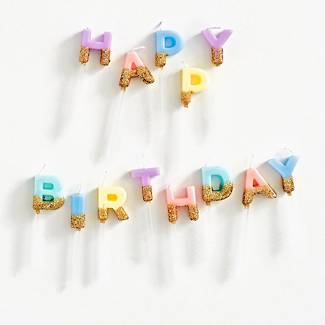
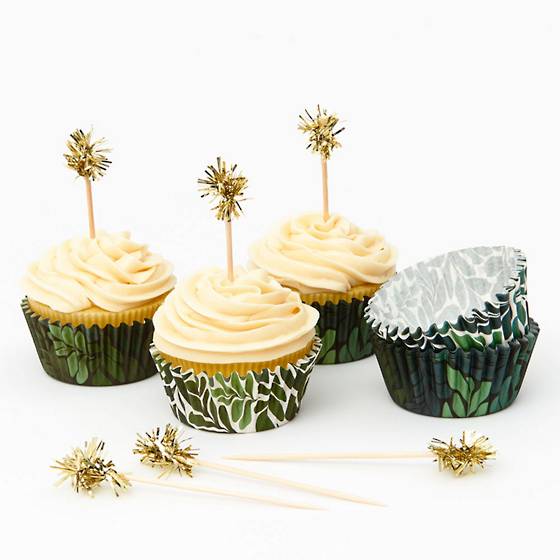
Illuminate your celebrations with fun candles and lights.