Stationery Stores, Wedding Invitations, Envelopes

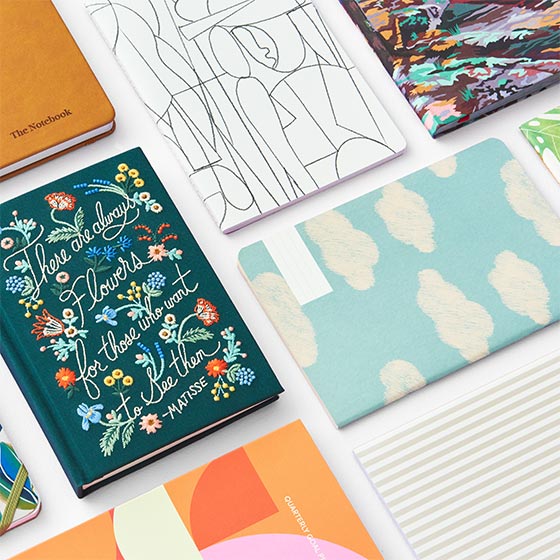
Gifts That Spark Delight


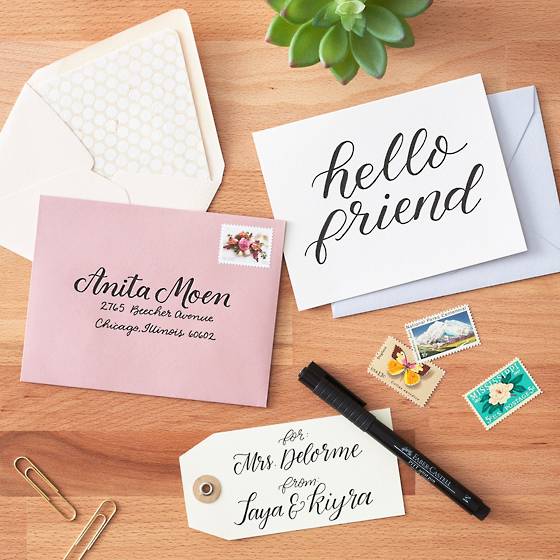
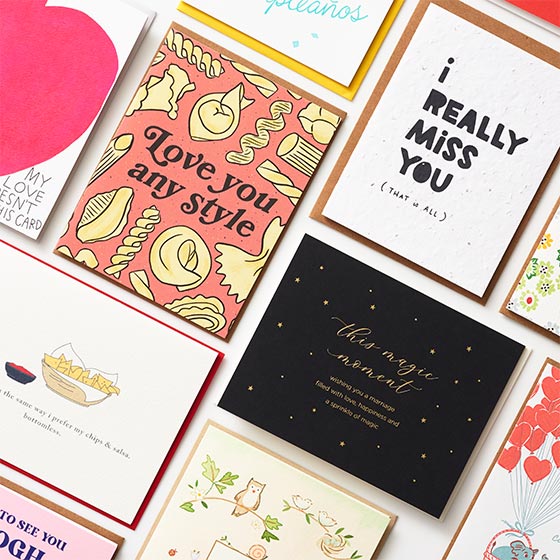
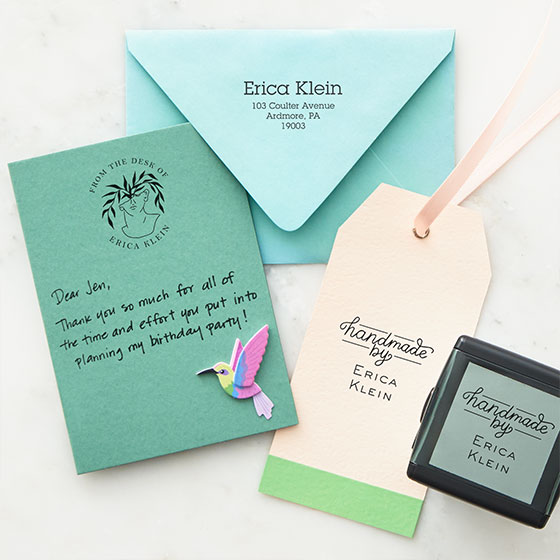
National Card and Letter Writing Month
April is National Card & Letter Writing Month!
Celebrate with Paper Source and learn how to get involved.


Celebrate Spring Occasions


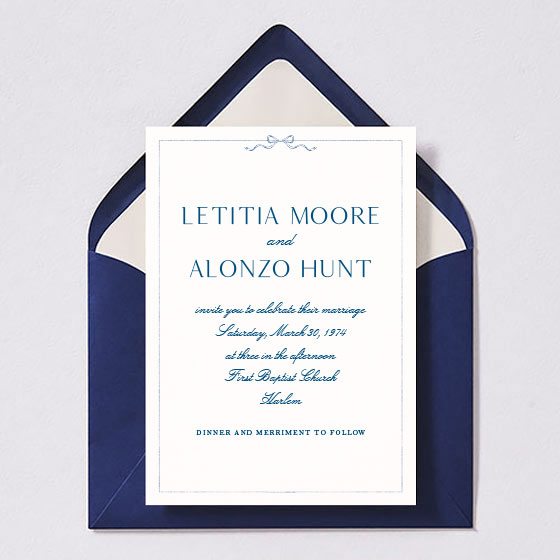
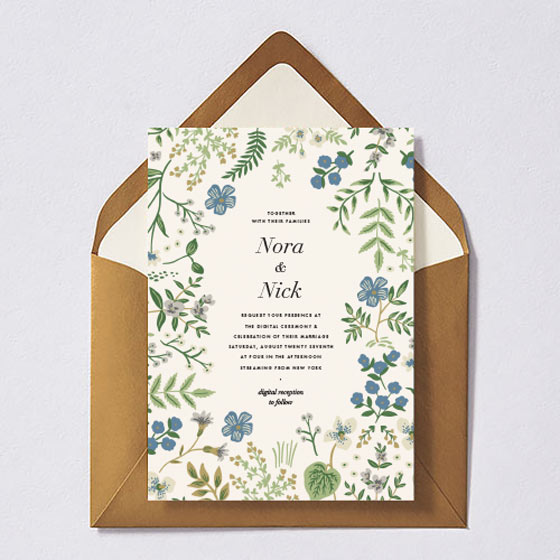
Create Your Ever After
New 2024 Collection
Paper Source Wedding
Shop our exclusive selection
of wedding suites and day of essentials.